The Frugal Esthetician: How to Do a Full Salon-Quality Facial at Home for Less Than $5
Jump Links
- Why You Don’t Need to Book a $120 Appointment
- The Science Behind Why This Actually Works
- What You’ll Need (Total Cost: Under $5)
- The Full 7-Step At-Home Facial Routine
- Tool Comparison: Gua Sha vs. Jade Roller vs. Just Your Hands
- How Often You Should Actually Do This
- Common Mistakes That Undo All Your Hard Work
- Who Should Modify or Skip Certain Steps
- Cost Breakdown: Home Facial vs. Spa Facial
- The Bottom Line
- FAQ
Why You Don’t Need to Book a $120 Appointment
I’ll say the quiet part out loud: spa facials are genuinely lovely, but they are also wildly overpriced for what’s actually happening during that hour. You’re paying for ambiance, a heated table, and someone else’s hands doing the work, sure, but the actual steps, cleansing, exfoliating, steaming, masking, massaging, toning, and moisturizing, are things you can absolutely replicate at home with ingredients you probably already own.
I used to book a facial every couple of months just to feel like I was “treating myself,” and I’d walk out $100+ lighter every single time. Once I actually broke down what an esthetician does step by step, I realized there’s no secret sauce locked away in a spa room. There’s technique, sure, and some fancier tools, but the fundamentals are completely doable on your bathroom counter on a random Sunday night.
This guide walks you through a full seven-step facial that hits every major benefit of a professional treatment, deep cleansing, gentle exfoliation, pore-opening steam, a targeted mask, lymphatic massage, toning, and moisture lock-in, for a total cost that’s less than a fancy coffee order. Let’s get into it.
The Science Behind Why This Actually Works
Before we get to the steps, let’s talk about why this isn’t just a “trust me bro” beauty hack. A 2023 review published in the Journal of Cosmetic Dermatology looked specifically at facial massage techniques like gua sha and jade rolling, and researchers found that studies have shown gua sha increases both blood and lymphatic flow, while short-term jade roller use similarly boosts circulation and lymphatic movement. That’s the mechanism behind why your skin looks noticeably brighter and less puffy right after a facial.
There’s also newer research backing this up. A 2024 randomized controlled trial covered by Dermatology Times compared facial roller massage against gua sha massage in 34 women, and the researchers found facial roller massage promotes increased blood flow and lymphatic drainage while gua sha massage increases microcirculation and reduces muscle tension, with both techniques showing measurable improvements to facial contour, muscle tone, and skin elasticity. Translation: the massage part of a facial isn’t just relaxing, it’s doing real, measurable work on your skin’s circulation and puffiness.
Steam and gentle exfoliation have their own well-documented benefits too. Warm steam helps loosen debris and oil sitting in your pores, which makes it easier for a mask or cleanser to actually do its job instead of sitting on the surface. And exfoliating, whether it’s a gentle scrub or a chemical exfoliant, sloughs off the dead skin cell layer that makes complexions look dull and can block product absorption. None of this requires a medical degree or a spa membership. It just requires doing the steps in the right order.
What You’ll Need (Total Cost: Under $5)
Here’s the full list. Chances are you already have at least half of this in your kitchen or bathroom cabinet.
| Item | Purpose | Approx. Cost |
|---|---|---|
| Gentle cleanser (or honey) | Step 1: Cleansing | $0 (already owned) or $0.10 for honey |
| Large bowl + hot water or a hot, damp towel | Step 2: Steaming | $0 |
| Baking soda or fine sugar | Step 3: Exfoliating | $0.10 |
| Plain yogurt, honey, or mashed banana | Step 4: Masking | $0.50 |
| Two clean spoons (chilled in the freezer) | Step 5: Massage/depuffing | $0 |
| Witch hazel or diluted apple cider vinegar | Step 6: Toning | $0.30 |
| Facial oil or a basic moisturizer | Step 7: Moisturizing | $0 (already owned) |
Total cost if you’re starting from scratch on the “extra” ingredients: roughly $1 to $5, depending on what’s already sitting in your kitchen and bathroom. If you already own a cleanser and moisturizer (which, let’s be honest, most of us do), you’re closer to the $1 end.
The Full 7-Step At-Home Facial Routine
Set aside about 45 minutes for the full routine. Yes, that’s longer than your normal skincare routine, and that’s the point. This is meant to feel like an event, not a quick five-minute task before bed.
Step 1: Double Cleanse
Start with an oil-based cleanser (or plain coconut or olive oil if that’s what you’ve got) to break down makeup, sunscreen, and surface grime. Follow up with your regular water-based cleanser to remove any oily residue. This two-part cleanse mimics exactly what estheticians do at the start of every professional facial, and it makes a genuine difference in how clean your skin feels afterward.
Step 2: Steam Your Face
Fill a large bowl with hot (not boiling) water, drape a towel over your head, and lean over the bowl with your face about 12 inches away for 5-8 minutes. If you don’t want to deal with a bowl, a hot, damp washcloth pressed against your face for a few minutes works almost as well. This step softens debris in your pores and preps your skin to actually absorb the next few steps instead of just sitting on the surface.
Step 3: Exfoliate Gently
Mix a small amount of baking soda or fine sugar with a bit of water or your cleanser to form a light, gritty paste. Using gentle circular motions, massage this over your face for about 60 seconds, avoiding the delicate eye area. Rinse thoroughly. This step sloughs off the top layer of dead skin, which is exactly what makes a mask afterward so much more effective.
Step 4: Apply Your Mask
Pick a mask based on what your skin needs that day:
- Plain yogurt for a gentle, lactic-acid-based brightening effect
- Raw honey for its natural humectant and soothing properties
- Mashed banana for a hydrating, vitamin-rich option if your skin is feeling dry or dull
Apply an even layer, avoiding your eyes and lips, and let it sit for 10-15 minutes while you do literally nothing else. This is your built-in relaxation time, so put the phone down.
Step 5: Massage and Depuff
Rinse off the mask with lukewarm water, then grab two spoons you’ve chilled in the freezer for at least 15 minutes. Using the rounded backs of the spoons, gently glide them upward and outward across your face, from your chin toward your ears, and from the center of your forehead outward. This mimics the lymphatic drainage technique estheticians use and takes advantage of the same circulation-boosting mechanism the gua sha and jade roller research points to. Spend about 3-5 minutes here.
Step 6: Tone
Apply a small amount of witch hazel or a very diluted apple cider vinegar solution (about one part vinegar to four parts water) with a cotton pad, gently sweeping it across your face. This step helps rebalance your skin’s pH after cleansing and preps it to better absorb your final moisturizing step.
Step 7: Lock in Moisture
Finish with a facial oil or your regular moisturizer, applied while your skin is still slightly damp to help seal in hydration. If it’s daytime, follow up with SPF, always.
Tool Comparison: Gua Sha vs. Jade Roller vs. Just Your Hands
You don’t need to buy a fancy tool to get real benefits, but if you’re curious how the options stack up:
| Tool | Approx. Cost | Best For | Backed By Research? |
|---|---|---|---|
| Chilled spoons | $0 (already owned) | Depuffing, cooling, basic lymphatic massage | Mimics the mechanism used in studied tools |
| Jade roller | $8-15 | Gentle everyday circulation boost | Yes, short-term vasodilation shown in studies |
| Gua sha tool | $6-12 | Targeted microcirculation, muscle tension relief | Yes, increased blood and lymphatic flow shown in research |
| Bare hands | $0 | Full control, most accessible option | Underlying massage mechanism is supported |
If budget is your priority, chilled spoons and clean hands genuinely get you most of the benefit. If you want to invest a little more down the line, a gua sha tool is a solid one-time purchase that lasts basically forever.
How Often You Should Actually Do This
A full facial like this is meant to be a weekly or biweekly ritual, not a daily habit. Here’s a simple breakdown:
- Once a week: Ideal for most skin types looking for a maintenance glow-up.
- Every two weeks: Better for sensitive or reactive skin that doesn’t tolerate frequent exfoliation well.
- Daily: Reserved only for the massage step alone (steps 5 and 7), without the exfoliation or masking, if you want a quick daily depuffing routine.
Doing the full exfoliation-and-mask combo too often can actually compromise your skin barrier, so resist the urge to do this every single day just because it feels good.
Common Mistakes That Undo All Your Hard Work
- Skipping the double cleanse. Going straight to exfoliation on unwashed skin just pushes dirt and makeup deeper into your pores.
- Using boiling water for steam. This can burn delicate facial skin and cause more harm than good. Warm, not scalding, is the goal.
- Over-exfoliating. More scrubbing does not equal more glow. It usually equals more redness and irritation.
- Rushing the massage step. The circulation benefits come from sustained, repeated motion, not a quick 20-second pass.
- Forgetting SPF the next morning. Steaming and exfoliating leave your skin more sensitive to sun exposure for the following 24 hours.
Who Should Modify or Skip Certain Steps
If you have active acne, skip the physical exfoliation step entirely, scrubbing over inflamed breakouts can spread bacteria and worsen things. Swap it for a gentler chemical option or skip straight to steaming and masking instead.
If you have rosacea or generally reactive skin, be cautious with the steam step, since heat can trigger flare-ups, and consider skipping the vinegar-based toner in favor of a plain, alcohol-free toner instead.
If you’re pregnant or nursing, check with your doctor before using apple cider vinegar toners or any essential oils you might be tempted to add in, since some ingredients aren’t recommended during this time.
And if you have any open cuts, active sunburn, or a skin infection, skip the facial altogether until your skin has fully healed.
Cost Breakdown: Home Facial vs. Spa Facial
| Facial Type | Average Cost | What You Get | Frequency People Typically Afford |
|---|---|---|---|
| Basic spa facial | $75-120 | Cleanse, steam, mask, massage, extraction | Once every 1-3 months |
| High-end spa facial | $150-300+ | Same steps plus specialized serums/devices | A few times a year at most |
| At-home DIY facial | $1-5 | Cleanse, steam, exfoliate, mask, massage, tone, moisturize | Weekly or biweekly |
Even if you only do this once a week, you’re saving anywhere from $70 to well over $250 a month compared to regular spa visits, all while getting the ritual and results more consistently.
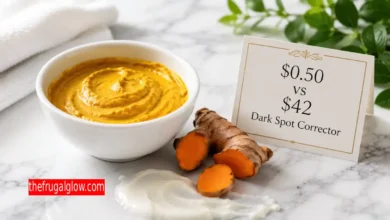
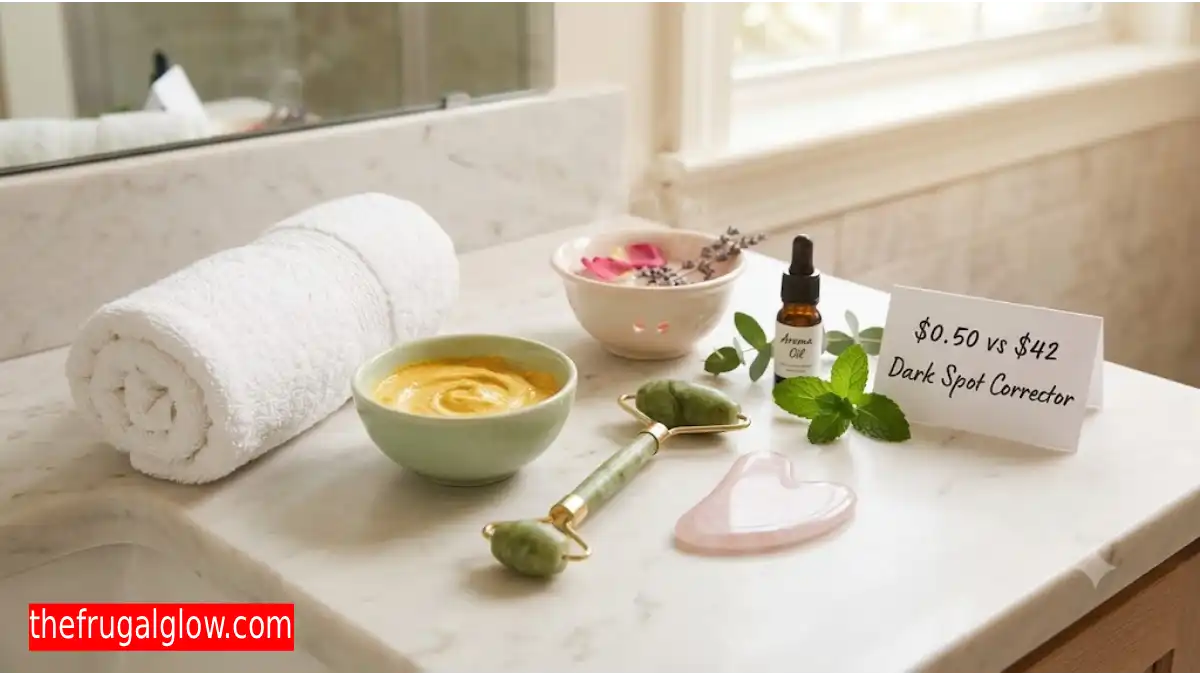
DIY Turmeric and Yogurt Spot Treatment: Say Goodbye to Acne Scars for Under $1
The Bottom Line
A great facial isn’t about the marble countertops or the essential oil diffuser humming in the background, it’s about the actual steps and the consistency behind them. Once you understand the why behind each part of the routine, from steam opening up your pores to the lymphatic-boosting effect of massage, it becomes obvious that you can recreate almost all of it at home for pocket change. Do this once a week, be patient with your skin, and you’ll likely notice a brighter, calmer complexion without ever picking up the phone to book an appointment.
If you’re into more budget-friendly beauty routines like this one, you’ll find plenty more over at The Frugal Glow, where looking good never has to mean spending big.
FAQ
Can an at-home facial really replace a professional one?
For general maintenance and glow, yes, an at-home routine covers most of the same core steps. Professional facials do offer extraction and specialized equipment that’s harder to replicate, so an occasional professional visit alongside your at-home routine is a great combo.
How long should a DIY facial take?
Plan for about 40-45 minutes for the full seven-step routine, including 10-15 minutes for the mask to sit and 3-5 minutes for the massage step.
What can I use instead of a jade roller or gua sha tool?
Two chilled metal spoons work almost as well for a depuffing, circulation-boosting massage, and they cost nothing extra if you already own spoons.
How often should I exfoliate during an at-home facial?
Once a week is ideal for most skin types. If you have sensitive or acne-prone skin, stick to every two weeks or skip physical exfoliation in favor of a gentler chemical option.
Is steaming my face actually good for my skin?
Yes, in moderation. Steam helps loosen debris in your pores and preps your skin to better absorb a mask or moisturizer afterward. Just avoid boiling water and don’t overdo the duration.
Can I do this facial if I have acne?
Yes, with modifications. Skip the physical exfoliation step to avoid spreading bacteria over active breakouts, and stick with steaming, a gentle mask, and massage instead.