

How to Make a $5 Drugstore Foundation Look Like a $50 Luxury Finish
Jump Links
- Why I Stopped Assuming Foundation Price Meant Foundation Quality
- What Makeup Artists Actually Say Matters Most
- Skin Prep: The Step That Makes or Breaks Everything
- Choosing the Right Tool for a Luxury Finish
- Getting Your Shade Match Right (This Matters More Than the Formula)
- How to Apply Drugstore Foundation for a High-End Finish
- The Setting Technique That Changes Everything
- Understanding Foundation Finish Types (And Why It Matters for Technique)
- Adjusting Technique Based on Your Skin Type
- Common Mistakes That Make Drugstore Foundation Look Cheap
- When a Luxury Foundation Might Genuinely Be Worth It
- Cost Breakdown: Drugstore vs. Luxury Foundation
- The Bottom Line
- FAQ
Why I Stopped Assuming Foundation Price Meant Foundation Quality
For years, I bought into the idea that a flawless, “your skin but better” finish required a $50-plus bottle of foundation. I’d splurge on the luxury version, apply it the exact same rushed way I always had, and wonder why it still looked patchy by mid-afternoon. Meanwhile, I had a $5 drugstore foundation sitting in my drawer that I’d basically written off as a backup option.
Then, on a morning I was running late and grabbed that drugstore bottle out of pure convenience, I actually slowed down and applied it properly, prepping my skin first, using the right tool, and building coverage in thin layers instead of one heavy swipe. The result looked better than my rushed application of the expensive stuff ever had, close enough that a coworker actually asked what new “high-end” foundation I was wearing that day. That was the moment I realized I’d been blaming the product for what was actually a technique problem the whole time, and it completely changed how I approached shopping for makeup going forward.
This guide breaks down exactly what separates a foundation application that looks luxurious and airbrushed from one that looks cakey and cheap, regardless of what the bottle cost. Spoiler: it comes down to skin prep, tools, and layering technique far more than it comes down to price.
What Makeup Artists Actually Say Matters Most
This isn’t just a personal theory, it’s a consistent point echoed across professional makeup artist advice. According to a 2026 roundup of tips from working makeup artists, proper skin prep is considered essential to a flawless, long-lasting base, with artists emphasizing that products should be layered thoughtfully and given time to absorb rather than rushed. Makeup artist Christina Rodio has specifically emphasized that thorough skin prep tailored to your specific skin type and concerns can make or break how a foundation ultimately looks.
Separately, a makeup artist interviewed by Trinny London made a similarly direct point: foundation genuinely sits better and looks more seamless when the skin underneath is properly prepped and hydrated beforehand. This same source also emphasized building coverage gradually in layers rather than applying a single heavy coat, since thin, buildable layers create a more natural, higher-end finish than trying to achieve full coverage in one pass.
The throughline across all of this professional guidance is remarkably consistent: technique, especially around skin prep and application layering, is what professionals credit for creating that expensive, airbrushed look, not the price tag on the foundation bottle itself. This is genuinely good news if you’re working with a $5 drugstore formula, since it means the exact same techniques professionals use are fully available to you regardless of your budget, no exclusive access or insider knowledge required beyond what’s covered in this guide.
Skin Prep: The Step That Makes or Breaks Everything
If there’s one universal theme across professional makeup advice, it’s that skin prep matters more than almost anything else in the entire routine, foundation formula included. Here’s what a proper prep routine actually involves.
- Cleanse thoroughly. Start with a clean face, free of the previous day’s makeup, sunscreen, and any surface oil buildup.
- Exfoliate 1-2 times a week. Removing dead skin cells creates a smoother surface for foundation to sit on, which directly affects how seamless the final finish looks.
- Apply a hydrating serum or moisturizer suited to your skin type. Give it 5-10 minutes to fully absorb before moving to the next step. Rushing this step is one of the most common reasons foundation looks patchy or slides around throughout the day.
- Apply sunscreen as your final skincare step. Beyond the obvious protective benefit, a good sunscreen formula can also help foundation glide on more evenly.
- Apply primer in a thin layer, focusing on areas where makeup tends to fade first, like the T-zone and around the nose.
- Wait a few minutes before starting foundation. This final pause allows everything underneath to fully settle, which prevents pilling and helps the foundation adhere evenly rather than sitting unevenly on top of unabsorbed product.
Skipping or rushing through this sequence is one of the most common reasons foundation, drugstore or luxury, ends up looking cakey, patchy, or short-lived. The formula quality genuinely cannot compensate for unprepped skin underneath it.
Choosing the Right Tool for a Luxury Finish
| Tool | Finish Achieved | Best For | Approx. Cost |
|---|---|---|---|
| Damp makeup sponge | Natural, airbrushed, “your skin but better” finish | Most skin types, especially those wanting a lighter, dewy look | $3-8 |
| Dense buffing brush | Fuller, more polished coverage | Those wanting more buildable, medium-to-full coverage | $8-15 |
| Clean fingertips | Warms and blends product into skin quickly | Sheer, lightweight coverage and quick touch-ups | $0 |
| Flat foundation brush | Precise, streak-free application | Cream and liquid foundations needing more control | $6-12 |
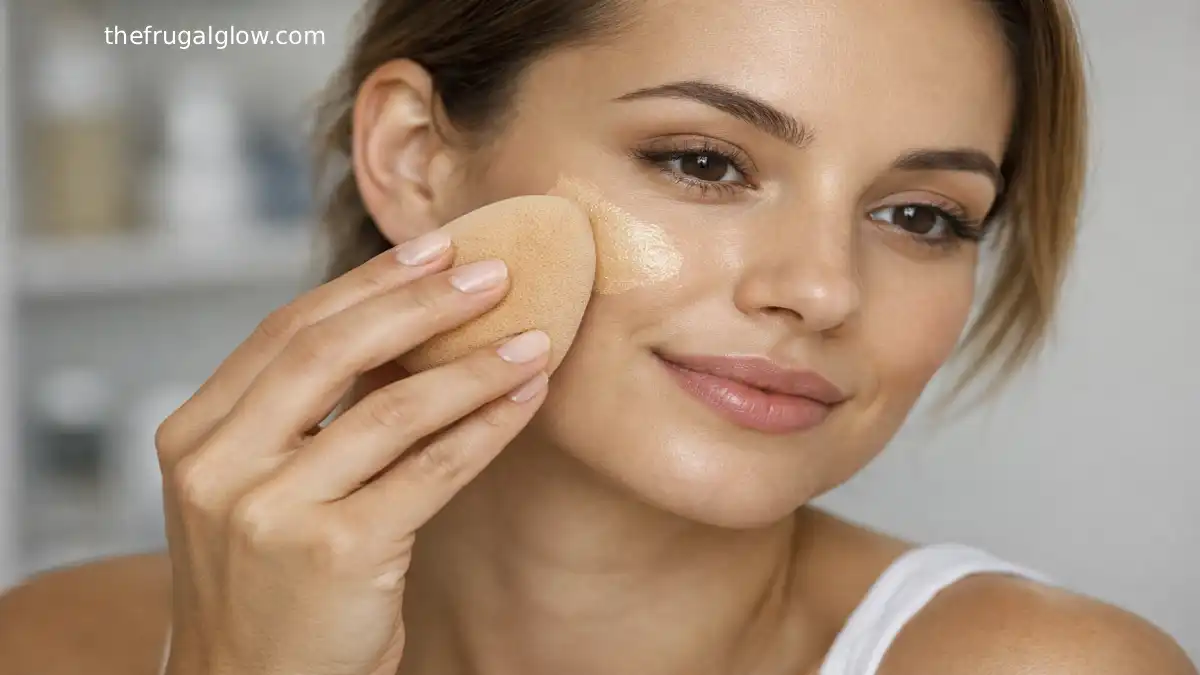
A damp makeup sponge is generally considered the most foolproof tool for achieving that seamless, “expensive-looking” finish, since the dampness helps the sponge absorb less product and press it evenly into skin rather than dragging it across the surface, which is what often causes visible streaking or a heavy, obvious makeup look.
Getting Your Shade Match Right (This Matters More Than the Formula)
No amount of skilled technique can fully compensate for a foundation shade that doesn’t actually match your skin. This is arguably as important as application technique itself, and it’s a step that costs nothing extra but makes a dramatic difference in how natural and expensive the final result looks.
| Shade-Matching Tip | Why It Matters |
|---|---|
| Test shades along your jawline, not your hand or wrist | Your jawline blends your face and neck tone, giving the most accurate match for your actual complexion |
| Check your match in natural daylight | Indoor store lighting, especially fluorescent lighting, can distort how a shade actually looks on your skin |
| Wait 10-15 minutes after applying a test swatch | Some formulas oxidize and shift slightly darker or warmer as they interact with your skin’s natural oils |
| Identify your undertone (cool, warm, or neutral) before shopping | Even a correct depth-of-shade match can look off if the undertone (pink, yellow, or neutral) doesn’t align with your skin |
| Consider mixing two shades if you’re between sizes | Many drugstore formulas are buildable and blend well together, letting you custom-mix an exact match for a fraction of what a luxury custom-blend service would cost |
Getting this right is genuinely one of the most cost-effective upgrades you can make to any foundation routine, expensive or not. A perfectly applied foundation in the wrong shade will always look more obviously “makeup” than a slightly less technically perfect application in the correct shade, since shade mismatch reads instantly to the eye in a way that subtle technique flaws often don’t, and it’s a mistake that no amount of blending skill can fully hide.
The $8 Drugstore Primers That Fill Pores Better Than High-End Brands
How to Apply Drugstore Foundation for a High-End Finish
- Start with a small amount. Less product than you think you need is almost always the right starting point. You can always build up coverage, but it’s much harder to correct an overly heavy first layer.
- Apply to the center of your face first. Following the “central diamond” technique many makeup artists use, start with foundation on your forehead, nose, chin, and cheeks, then blend outward toward your hairline and jawline where you typically need less coverage.
- Use a stippling or bouncing motion, not dragging strokes. Whether you’re using a sponge or brush, pressing product into skin rather than swiping it across creates a smoother, more natural finish and helps prevent visible streaking.
- Build coverage in thin layers. If you need more coverage in certain areas, like around blemishes or redness, add a second thin layer there specifically rather than applying a uniformly heavy layer across your entire face.
- Blend down into your neck and along your hairline. A visible line of demarcation is one of the fastest ways any foundation, expensive or not, looks obviously “made up” rather than natural.
- Use pinpoint concealing for specific spots. Rather than applying concealer broadly, use a small brush to tap concealer only directly onto blemishes or dark areas, then blend just the edges. This allows more of your natural skin to show through elsewhere.
- Step back and check your work in natural light. Artificial indoor lighting can hide unevenness or patchiness that becomes obvious the moment you step outside.
The Setting Technique That Changes Everything
How you set your foundation matters just as much as how you apply it, and this is another area where technique outweighs price. Applying powder indiscriminately across your entire face is one of the fastest ways to make a foundation look heavy and cakey rather than luxurious, since excess powder settles into fine lines and texture, creating exactly the opposite of the smooth finish you’re going for.
Instead, professional guidance consistently points toward targeted setting: apply a light dusting of translucent or setting powder only in the areas that tend to get oily or crease throughout the day, typically the T-zone, under the eyes, and around the nose. Leave the rest of your face, particularly your cheeks, unset or very lightly set, which helps preserve a more natural, dewy finish rather than an overly flat, matte one.
If you’re using a setting spray, apply it as the very last step, after all other makeup, including powder, is complete. This helps meld all the individual layers together into a more cohesive, skin-like finish rather than leaving separate, distinct layers sitting on top of each other, which is a subtle but noticeable factor in whether makeup reads as expensive or amateur.
Stop Tossing Your ‘Dry’ Mascara! Use This $0 Hack to Make It Brand New
Understanding Foundation Finish Types (And Why It Matters for Technique)
Beyond application method, the actual finish type of your foundation, matte, dewy, or satin, plays a real role in how “expensive” the final look reads, and it’s worth understanding which one suits your goals and skin type before you even open the bottle.
| Finish Type | Visual Effect | Best Paired With | Common Mistake |
|---|---|---|---|
| Matte | Flat, shine-free, blurred texture | Oily skin, hot climates, long-wear needs | Over-application can look heavy or aging on drier skin types |
| Dewy | Luminous, glowing, “glass skin” effect | Dry to normal skin, most drugstore luxury-mimicking looks | Can look greasy if applied too thickly on oily areas |
| Satin | Soft sheen, natural balance between matte and dewy | Combination skin, most versatile everyday option | Often the easiest to mess up by over-setting with powder |
Interestingly, a lot of what reads as “expensive-looking” skin in current makeup trends leans toward a dewy or satin finish rather than a fully matte one, since a soft natural sheen tends to mimic healthy, well-hydrated real skin more convincingly than a completely flat matte surface. This works genuinely in favor of anyone using an affordable foundation, since dewy and satin finishes are more forgiving of minor application imperfections than a fully matte finish, which tends to highlight every uneven patch and streak far more obviously, especially in bright natural light or photographs.
Adjusting Technique Based on Your Skin Type
| Skin Type | Foundation Application Adjustment |
|---|---|
| Oily | Use a mattifying primer, set with powder in oil-prone areas, and consider a semi-matte foundation formula for longer wear |
| Dry | Focus on thorough hydration before application, use a damp sponge for a dewier finish, and minimize powder use to avoid emphasizing dry patches |
| Combination | Apply foundation and setting powder more heavily in the T-zone, lighter everywhere else, adjusting products by zone rather than treating the whole face the same |
| Sensitive or acne-prone | Choose non-comedogenic formulas, use pinpoint concealing rather than heavy overall coverage, and avoid over-blending directly on active breakouts |
| Mature skin | Favor cream or liquid formulas over powder-based ones, minimize setting powder to avoid settling into fine lines, and prioritize hydrating skin prep |
Common Mistakes That Make Drugstore Foundation Look Cheap
- Applying too much product at once. This is the single most common issue. A heavy, single application almost always looks less refined than the same total coverage built in thin layers.
- Skipping skin prep entirely. No foundation formula, regardless of price, looks smooth applied over dehydrated, unprepped skin.
- Setting the entire face with powder. This creates a flat, heavy, obviously “made up” look rather than the more natural finish that reads as expensive.
- Not blending into the hairline and neck. A visible line of demarcation instantly signals an amateur application, no matter how good the foundation formula itself is.
- Using the wrong shade. Even a technically excellent application looks off if the shade doesn’t match your skin tone and undertone correctly. Always shade-match in natural daylight, not indoor store lighting.
- Dragging product across the face instead of pressing it in. This tends to create visible streaking and uneven coverage, especially with liquid formulas.
- Skipping the final check in natural light. Indoor artificial lighting can mask patchiness, cakiness, or an oxidized shade mismatch that becomes obvious the moment you step outside.
The $5 ‘Elf’ Hack: How to Get a High-End Glow for the Price of a Latte
When a Luxury Foundation Might Genuinely Be Worth It
To be fair and balanced here, there are some legitimate reasons someone might still prefer a higher-end foundation. Some professional makeup artists have noted that certain premium formulas move and blend with skin in ways that are harder to replicate with lower-cost ingredients, particularly for very specific skin concerns or professional, long-wear applications like bridal makeup or on-camera work, where reliability under harsh lighting and long hours genuinely matters more than everyday wear does. Higher-end formulas may also include more advanced skincare ingredients incorporated directly into the base, offering additional benefits beyond pure coverage.
If you have a specific, persistent skin concern, like significant texture, very deep-set fine lines, or a shade-matching challenge that drugstore options in your area don’t cover well, investing in a higher-end formula formulated specifically for that concern may genuinely deliver a better result. For most everyday, non-professional makeup application, though, the technique factors covered throughout this guide close the gap between price tiers significantly, and many people find they genuinely can’t tell the difference once both skin prep and application technique are handled well.
Cost Breakdown: Drugstore vs. Luxury Foundation
| Foundation Type | Average Cost | Bottle Size (approx.) | Cost Per Use (approx.) |
|---|---|---|---|
| Luxury foundation | $45-65 | 1 oz | $0.90-$1.30 |
| Mid-range foundation | $18-30 | 1 oz | $0.36-$0.60 |
| Drugstore foundation | $5-12 | 1 oz | $0.10-$0.24 |
Even accounting for occasionally needing to experiment with a few different drugstore shades or formulas to find your best match, which luxury counters with in-store consultants sometimes help avoid, the overall cost savings from building a solid technique with an affordable formula are substantial, often $30-50+ saved per bottle.
The Bottom Line
The gap between a foundation application that looks luxurious and one that looks cheap has far more to do with skin prep, tool choice, and layering technique than it does with the price printed on the bottle, a point makeup artists themselves consistently emphasize. A $5 drugstore foundation, applied with properly prepped skin, a damp sponge, thin buildable layers, and targeted setting, can absolutely achieve that smooth, airbrushed, expensive-looking finish. It takes a little more patience and practice than reaching for a pricier bottle and hoping for the best, but the payoff, both in how your makeup looks and in what stays in your wallet, is well worth the extra few minutes. Next time you’re standing in front of the mirror rushing through your routine, remember that the fifteen extra seconds you spend on skin prep or blending into your hairline will do more for how expensive your makeup looks than any amount of extra money spent on the bottle itself.
For more smart, budget-friendly beauty techniques like this one, check out The Frugal Glow for more honest breakdowns that help your routine look expensive without the expensive price tag.
FAQ
Can a drugstore foundation really look as good as a luxury one?
Yes, in most everyday situations. Makeup artists consistently point to skin prep and application technique as the primary factors behind a flawless finish, both of which are fully achievable regardless of a foundation’s price point.
What’s the most important step for making foundation look expensive?
Skin prep. Cleansing, hydrating, and allowing products to properly absorb before foundation application is consistently cited by makeup artists as the single most important factor in how smooth and long-lasting a foundation ultimately looks.
Should I use a sponge or a brush for a more natural finish?
A damp makeup sponge is generally considered the most foolproof tool for a natural, airbrushed finish, since it presses product into skin rather than dragging it across the surface.
Why does my foundation look cakey even though I don’t use much product?
This is often caused by setting the entire face with powder rather than targeting only oily or crease-prone areas, or by skipping proper skin hydration before application.
How do I keep drugstore foundation from oxidizing or changing color?
Shade-match in natural daylight rather than indoor lighting, and consider testing a shade for a few hours before committing, since some formulas can shift slightly darker as they interact with skin oils throughout the day.
Is it ever worth spending more on a luxury foundation?
For specific skin concerns like significant texture or very particular shade-matching needs, a premium formula may offer a genuine advantage. For most everyday makeup application, strong technique closes most of the gap between price tiers.