

Stop Wasting Money on Professional Gloss Treatments: The $5 At-Home Clear Shine Secret
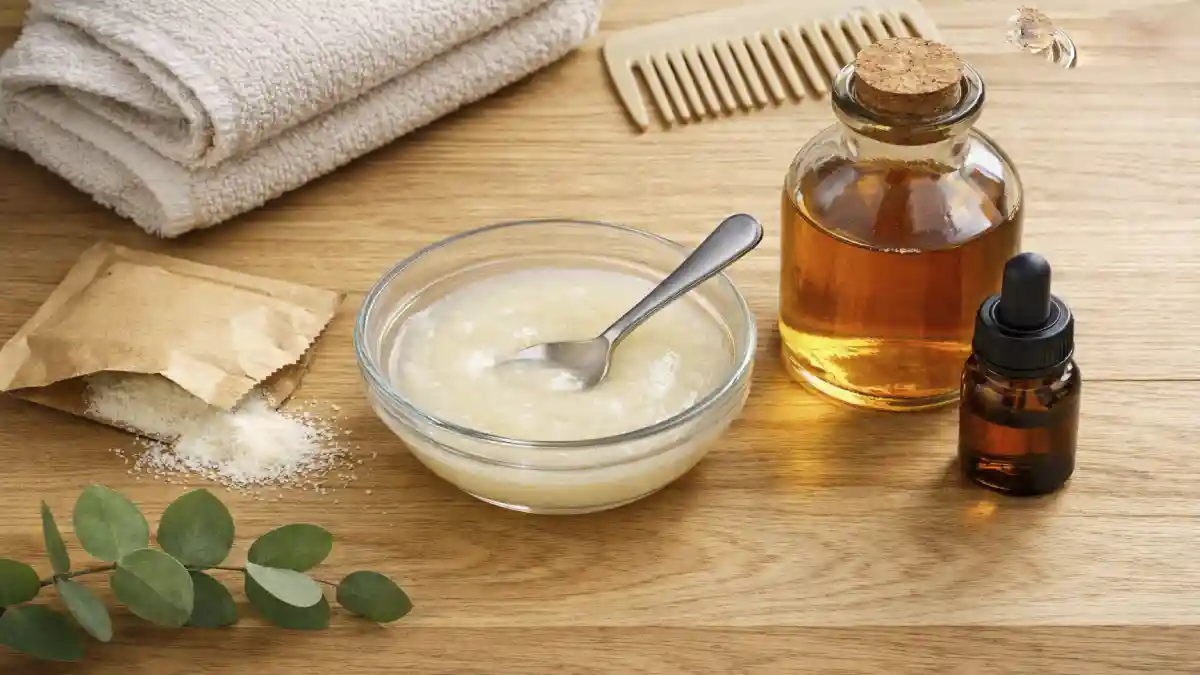
Salon hair gloss treatments have genuinely earned their popularity — that glass-like, light-catching shine is a real, visible upgrade, and it’s become one of the most requested add-on services at salons everywhere. It’s also not cheap, commonly running $30 to $100 or more depending on your salon and hair length, for a treatment that fades within several weeks and needs repeating to maintain.
The good news is that the core mechanism behind a gloss treatment — smoothing the hair cuticle so it lies flat and reflects light more evenly — is genuinely replicable at home using inexpensive ingredients, some of which are probably already in your kitchen. This is the full breakdown: what a professional gloss actually does, five different DIY versions at different price points, and an honest comparison of what you’re actually getting for $5 versus $50.
Jump Links
- What a Salon Gloss Treatment Actually Does
- Clear Gloss vs. Toner vs. Glaze: Clearing Up the Terms
- The $5 Gelatin Gloss: The Main Recipe
- 4 More DIY Gloss Variations
- Recipe Comparison Table
- DIY vs. Salon Gloss: Honest Comparison Table
- Step-by-Step Application (Any Recipe)
- How Long DIY Shine Actually Lasts
- Best Practices for Maximum Shine
- Who Should Be Cautious
- Common Mistakes to Avoid
- FAQ
- The Bottom Line
What a Salon Gloss Treatment Actually Does
A professional hair gloss is a semi-permanent treatment designed to enhance shine, depth, and vibrancy, working primarily by wrapping each hair strand in shine-enhancing ingredients that keep the cuticle smooth and create an ultra-reflective surface. These formulas typically contain nourishing oils like argan, jojoba, or coconut, along with strengthening proteins such as keratin or silk, all working together to seal the hair shaft and create that signature glass-like effect.
Importantly, a clear gloss (as opposed to a tinted one) adds shine and smoothness without changing your natural hair color at all — it’s purely a surface-level treatment rather than a coloring service, which is exactly what makes it replicable at home without needing any color-matching expertise.
Clear Gloss vs. Toner vs. Glaze: Clearing Up the Terms
These terms get used almost interchangeably in salons, but there are real distinctions worth understanding, especially since it affects what a DIY version can and can’t replicate. A true salon gloss is often demi-permanent and mixed with a developer, which allows it to open the hair cuticle slightly for deeper, longer-lasting deposit — this is what gives professional treatments their multi-week staying power. At-home semi-permanent versions, by contrast, sit on the cuticle surface for a shorter-term shine boost rather than penetrating and altering it, fading gradually with each wash rather than requiring regrowth maintenance the way permanent color would.
DIY versions using ingredients like gelatin, oils, and acidic rinses fall firmly into this surface-level, semi-permanent category — they smooth and coat the existing cuticle rather than chemically opening it, which is exactly why they’re safe to do repeatedly at home without professional expertise, but also why their shine effect fades faster than a demi-permanent salon service.
The $5 Gelatin Gloss: The Main Recipe
This is the most popular and effective DIY gloss method, using plain unflavored gelatin (the same kind sold for cooking) as a protein-based shine treatment.
Ingredients:
- 1 tablespoon unflavored gelatin (like Knox brand)
- ¼ cup warm water
- 2–3 tablespoons of your regular conditioner
- Optional: 1 teaspoon apple cider vinegar for extra shine and clarifying benefit
Instructions:
- Dissolve the gelatin thoroughly in the warm water, stirring until no clumps remain — this step matters, since undissolved gelatin can clump in hair.
- Once fully dissolved and slightly cooled, mix in your conditioner until smooth and well combined.
- Add the optional apple cider vinegar and stir again.
- Apply the mixture evenly through clean, damp hair from mid-length to ends, avoiding the scalp.
- Leave on for 20 to 30 minutes.
- Rinse thoroughly with cool water to help seal the cuticle further.
Estimated cost: around $4–$5, using a small packet of unflavored gelatin (often sold in multi-packet boxes for a couple of dollars) and conditioner you likely already own.
4 More DIY Gloss Variations
1. Apple Cider Vinegar Clarifying Rinse (simplest, cheapest option)
- 1 tablespoon apple cider vinegar
- 1 cup water
Mix and use as a final rinse after shampooing and conditioning. The mild acidity helps smooth the cuticle and remove residue that can dull shine over time.
2. Egg, Olive Oil, and Aloe Gloss (protein and nourishment boost)
- 1 beaten egg
- 1 tablespoon extra virgin olive oil
- 1 tablespoon pure aloe vera gel
Apply to clean, damp hair and let sit for about an hour before rinsing thoroughly with cool water (important: use cool water specifically to avoid cooking the egg in your hair).
3. Honey-Yogurt Gloss (best for damaged, dull hair)
- 2 tablespoons plain yogurt
- 1 tablespoon honey
- 1 teaspoon olive oil
Mix into a smooth paste, apply through mid-lengths and ends, and leave on for 20–30 minutes before rinsing.
4. Coconut Oil and Apple Cider Vinegar Combo Gloss
- 1 tablespoon melted coconut oil
- 1 teaspoon apple cider vinegar
- 2 tablespoons conditioner
Combine and apply as a mask for 15–20 minutes before rinsing, combining coconut oil’s smoothing properties with the mild clarifying effect of the vinegar.
Recipe Comparison Table
| Recipe | Key Ingredients | Best For | Approx. Cost |
|---|---|---|---|
| Gelatin Gloss | Unflavored gelatin, conditioner | All hair types, general shine boost | $4–$5 |
| ACV Clarifying Rinse | Apple cider vinegar, water | Removing dulling residue, quick shine | Under $1 |
| Egg-Olive Oil-Aloe Gloss | Egg, olive oil, aloe vera | Protein boost, strengthening | $2–$3 |
| Honey-Yogurt Gloss | Yogurt, honey, olive oil | Dull, damaged, or dry hair | $2–$3 |
| Coconut Oil-ACV Combo | Coconut oil, vinegar, conditioner | Smoothing and clarifying combined | $3–$4 |
DIY vs. Salon Gloss: Honest Comparison Table
| Factor | DIY Gloss | Salon Gloss |
|---|---|---|
| Cost | $1–$5 | $30–$100+ |
| Longevity | 1–2 weeks typical | 4–8 weeks typical |
| Cuticle penetration | Surface-level only | Can penetrate deeper (demi-permanent formulas) |
| Color-altering risk | None (clear, deposit-free) | Minimal with clear gloss, more with tinted |
| Expertise required | None | Professional application recommended for tinted versions |
| Repeatable frequency | Weekly or biweekly | Every 4–8 weeks |
| Best for | Maintenance shine between salon visits, budget-conscious routine | Deeper, longer-lasting tonal refinement and shine |
Step-by-Step Application (Any Recipe)
- Start with clean, damp hair. Shampoo thoroughly to remove product buildup, which can interfere with how evenly the gloss coats the hair shaft.
- Section your hair for even distribution, especially important for longer or thicker hair where an uneven application is more likely.
- Apply your chosen gloss mixture from mid-length to ends, generally avoiding the scalp and roots unless a recipe specifically calls for full application.
- Comb through gently with a wide-tooth comb to ensure even coverage across every strand.
- Let it process for the time specified in your chosen recipe, typically 20 to 30 minutes (or up to an hour for the egg-based version).
- Rinse thoroughly with cool water, which helps close and smooth the cuticle for maximum shine, rather than warm or hot water which can leave the cuticle slightly more open.
- Style as usual, ideally avoiding heat styling immediately afterward to let the treatment’s smoothing effect fully set.
How Long DIY Shine Actually Lasts
Realistically, expect a DIY gloss treatment to maintain visible shine for roughly one to two weeks, depending on wash frequency, water hardness, and hair porosity. This is genuinely shorter than a professional demi-permanent salon gloss, which commonly lasts four to eight weeks, since the salon version can chemically open the cuticle slightly for deeper deposit rather than sitting purely on the surface.
This difference in longevity is exactly why a DIY gloss works best as a maintenance tool used regularly (weekly or biweekly) rather than a one-time fix expected to match a salon treatment’s multi-week staying power in a single application.
Best Practices for Maximum Shine
- Always finish with a cool water rinse, regardless of which recipe you use, since cooler water genuinely helps smooth and close the hair cuticle for better light reflection.
- Use a wide-tooth comb during application to distribute the treatment evenly and prevent tangling, especially with thicker, protein-based recipes like the gelatin or egg versions.
- Don’t skip the dissolving step for gelatin. Undissolved gelatin granules can clump and stick in hair, creating a mess rather than a smooth treatment.
- Avoid immediate heat styling after treatment, giving the smoothing effect time to fully set on the hair shaft.
- Layer treatments strategically. Alternating between a protein-based gloss (gelatin or egg) and a simple acidic rinse (apple cider vinegar) across different weeks can help balance moisture and protein rather than over-relying on one type.
Who Should Be Cautious
- Anyone with an egg allergy should skip the egg-based recipe specifically and choose one of the other four alternatives instead.
- Color-treated hair, particularly recently colored or chemically processed hair, should proceed cautiously with any new treatment, patch-testing on a small section first to confirm it doesn’t affect color vibrancy unexpectedly.
- Very fine or protein-sensitive hair may find protein-heavy recipes (gelatin, egg) feel slightly stiff or straw-like if overused; if this happens, switch to a more moisture-focused recipe like the honey-yogurt version instead.
- Anyone with a known sensitivity to any specific ingredient (vinegar, aloe, specific oils) should patch-test a small area of skin before full application.
Common Mistakes to Avoid
- Applying gelatin gloss to bone-dry hair. Damp hair allows the mixture to distribute and absorb more evenly than dry strands.
- Using hot water to rinse. This can leave the cuticle slightly more open rather than sealed, working against the treatment’s core purpose.
- Leaving protein-based treatments on too long. Beyond the recommended time window, protein treatments can begin to feel stiff or brittle rather than continuing to add benefit.
- Overusing protein treatments without balancing moisture. Alternating with a moisture-focused recipe (like honey-yogurt) helps avoid protein overload, similar to the balance needed with other protein-rich hair treatments.
- Expecting DIY results to match a salon demi-permanent gloss exactly. A DIY version delivers real, genuine shine improvement, but the surface-level mechanism means it won’t fully replicate a professional treatment’s depth or longevity.
📌 YOU MIGHT ALSO LIKE:
Why I Stopped Buying $60 Hair Masks and Swapped to Pure Coconut Milk and Honey
FAQ
Does a DIY gloss treatment really work as well as a salon gloss?
It delivers genuine, visible shine improvement using a similar core mechanism — smoothing the cuticle so light reflects more evenly — but it works at the surface level rather than the deeper, sometimes chemically-assisted penetration a professional demi-permanent gloss achieves, which is why the results, while real, don’t last quite as long.
How often can I safely do a DIY gloss treatment?
Most of these recipes are gentle enough to use weekly or every other week without issue, since they’re not altering hair’s chemical structure the way permanent color or chemical straightening would.
Will a clear DIY gloss change my hair color?
No. All of the recipes in this guide are deposit-free and clear, meaning they add shine and smoothness without altering your natural hair color, similar to how a clear salon gloss (as opposed to a tinted one) works.
Which DIY recipe is best for damaged or dry hair specifically?
The honey-yogurt gloss is generally the best fit for dry or damaged hair, since it leans more heavily on moisture and gentle conditioning rather than protein, which can sometimes feel too strengthening (and occasionally stiff) on already-fragile strands.
How long does the shine from a DIY gloss actually last?
Typically about one to two weeks, depending on wash frequency and hair porosity, compared to the four-to-eight-week staying power of a professional demi-permanent salon gloss.
Can I use these DIY gloss treatments on color-treated hair?
Generally yes, since these recipes are clear and deposit-free, but it’s worth patch-testing a small section first, especially on recently colored or chemically processed hair, just to confirm there’s no unexpected interaction.
The Bottom Line
The glass-like shine everyone loves about a salon gloss treatment comes down to a genuinely simple mechanism: a smooth, well-sealed hair cuticle reflecting light evenly. That same effect, at a fraction of the depth and longevity, is absolutely achievable at home for around $5 using ingredients like unflavored gelatin, apple cider vinegar, or a few pantry staples — a genuinely smart swap for anyone maintaining shine between salon visits rather than paying full price every single time.
For more budget beauty guides and DIY hair treatments, check out more posts over at The Frugal Glow.
Sources: