

The $2 Lip Scrub: How to Sugar-Exfoliate for Soft, Smooth Lips at Home
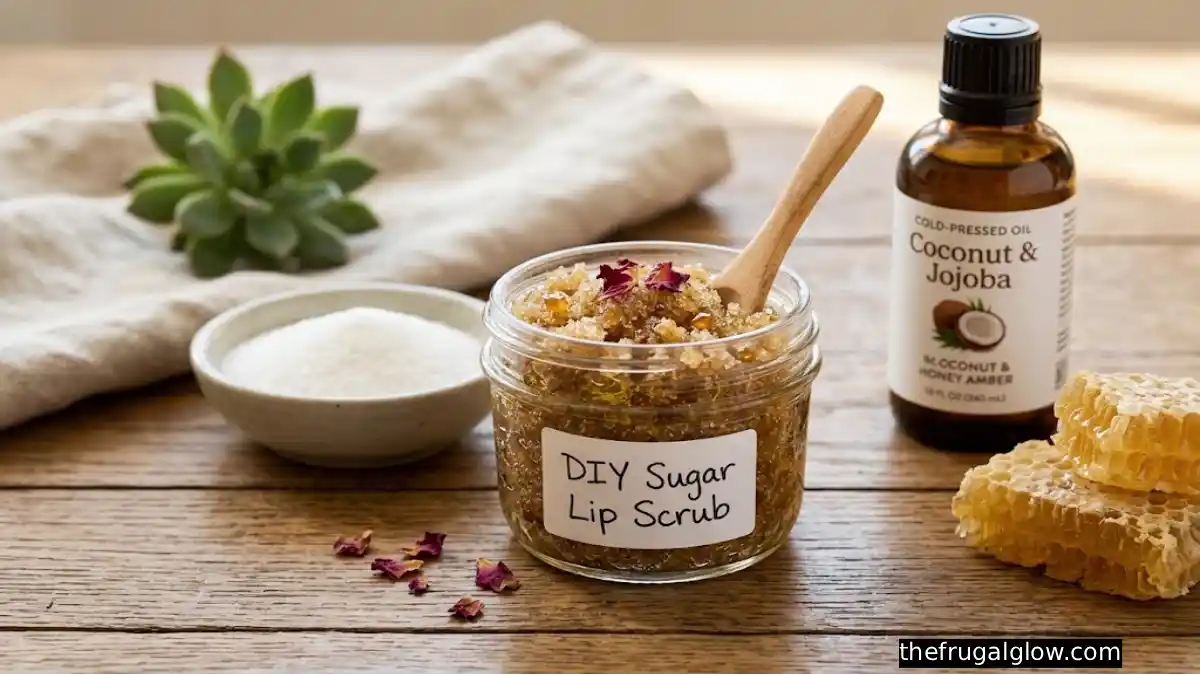
Chapped, flaky lips are one of the most universally annoying beauty problems, and the skincare industry has responded with an entire category of lip scrub products, some running $15 to $25 for a container the size of a thimble. What most of those products actually contain — sugar and an oil or butter base — is sitting in your kitchen right now, and combining them takes about two minutes and roughly $2 worth of ingredients.
This is the complete guide to DIY sugar lip exfoliation: why it works, exactly how often to do it, several genuinely good recipes at different price points, and the technique details that separate an effective scrub from one that just makes a sticky mess.
Jump Links
- Why Lips Specifically Need Exfoliation
- Why Sugar Works So Well as a Lip Exfoliant
- Basic $2 Sugar Lip Scrub Recipe
- Four More Recipe Variations
- Recipe Comparison Table
- Step-by-Step: How to Actually Use It
- How Often to Exfoliate Your Lips
- Storage and Shelf Life
- Brown Sugar vs. White Sugar
- Common Mistakes to Avoid
- When to Skip Exfoliating Your Lips
- FAQ
- The Bottom Line
Why Lips Specifically Need Exfoliation
Lips are structurally different from the rest of your facial skin in a way that makes them especially prone to dryness and flaking. Lip skin has a notably thinner outer layer and fewer protective lipids compared to skin elsewhere on your face, which means it holds onto moisture less effectively and shows visible dryness and roughness far more readily. This thinner, less protected barrier is exactly why lips chap so easily in cold weather, dry climates, or after prolonged sun exposure, while the surrounding facial skin often fares noticeably better under the same conditions.
Regular gentle exfoliation addresses this directly: removing the buildup of dry, flaky surface cells reveals smoother, fresher skin underneath and — just as importantly — allows moisturizing lip treatments to actually absorb and work properly, rather than sitting on top of a dry, flaky barrier that blocks penetration.
Why Sugar Works So Well as a Lip Exfoliant
Sugar granules function as a physical exfoliant, meaning the actual granule texture mechanically buffs away dead surface cells as you massage it against your lips. Unlike chemical exfoliants (acids that dissolve dead skin cells), a physical exfoliant like sugar works through direct, gentle friction, which is part of why it’s such an accessible, easy-to-understand option for a sensitive area like the lips.
Sugar also has a practical advantage over other common physical exfoliants like salt: its granules dissolve more readily and tend to be gentler on delicate skin. Salt, by comparison, is generally considered a rougher, more abrasive option, better suited to tougher areas like feet or elbows rather than thin, sensitive lip skin. This is exactly why sugar has become the standard base for lip-specific scrub formulas, both commercial and homemade.
Basic $2 Sugar Lip Scrub Recipe
This is the simplest, cheapest version — genuinely just two ingredients, both likely already in your kitchen.
Ingredients:
- 1 tablespoon granulated sugar (or brown sugar, see comparison below)
- 1 teaspoon olive oil, coconut oil, or another neutral cooking oil
Instructions:
- Combine the sugar and oil in a small bowl, stirring until it forms a thick, slightly gritty paste.
- Adjust as needed — add a touch more oil if it feels too dry and crumbly, or a bit more sugar if it feels too runny.
- Transfer to a small container with a lid for storage between uses.
Estimated cost: Well under $2 for a batch that lasts several uses, since both ingredients are pantry staples typically already on hand.
Four More Recipe Variations
Honey Brown Sugar Scrub (extra moisturizing):
- 1 tablespoon brown sugar
- 1 teaspoon coconut oil
- ½ teaspoon honey (adds moisture, though it makes the mixture a bit stickier and less shelf-stable)
Vanilla Sugar Scrub (a sweeter, dessert-like scent):
- 1 tablespoon granulated or brown sugar
- 1 teaspoon grapeseed or olive oil
- A few drops of vanilla extract
Cinnamon Sugar Scrub (a warming, slightly tingly sensation):
- 1 tablespoon brown sugar
- 1 teaspoon olive oil
- A small pinch of ground cinnamon (start with a very small amount, since cinnamon can be irritating to sensitive lips in larger quantities)
Coffee Sugar Scrub (a caffeinated twist with a slightly deeper exfoliating texture):
- 1 tablespoon sugar
- 1 teaspoon coconut oil
- ½ teaspoon finely ground coffee grounds
Recipe Comparison Table
| Recipe | Key Ingredients | Texture | Best For |
|---|---|---|---|
| Basic $2 Scrub | Sugar + oil | Simple, gritty | Anyone wanting the fastest, cheapest option |
| Honey Brown Sugar | Brown sugar, coconut oil, honey | Sticky, extra moisturizing | Very dry or chapped lips needing added hydration |
| Vanilla Sugar | Sugar, oil, vanilla extract | Fragrant, gentle | Anyone wanting a pleasant scent/flavor |
| Cinnamon Sugar | Brown sugar, oil, cinnamon | Warming, tingling sensation | Those who enjoy a slight tingle (patch test first) |
| Coffee Sugar | Sugar, coconut oil, coffee grounds | Slightly finer texture, subtle scent | A gentle variation with a different aromatic profile |
Step-by-Step: How to Actually Use It
- Start with clean, dry lips. Removing any lipstick, gloss, or balm beforehand ensures the scrub can actually reach the skin’s surface rather than working against leftover product.
- Apply a generous amount of the scrub to your lips using a fingertip or a soft, clean brush.
- Gently massage in small, circular motions for about 30 seconds to a minute. The motion, not aggressive pressure, is what does the actual exfoliating work.
- Let it sit for an optional 1 to 2 minutes if using a recipe with added honey or oil, allowing extra moisture to absorb into the skin before rinsing.
- Rinse with warm water, or gently wipe away with a soft, damp washcloth.
- Immediately follow with a nourishing lip balm to lock in moisture on the freshly exfoliated skin — this step is genuinely important, since exfoliation alone without a follow-up moisturizer can actually leave lips feeling more exposed and dry afterward.
How Often to Exfoliate Your Lips
Consistent guidance across skincare sources points to the same general frequency: exfoliating your lips one to two times per week is the sweet spot for most people. This is meaningfully less frequent than face exfoliation for a reason — because lip skin is so much thinner and more delicate, over-exfoliating can cause irritation, increased dryness, or even minor micro-tears rather than the smooth, soft result you’re going for.
A useful rule of thumb: if your lips feel noticeably rough or flaky, that’s your cue it’s time for a session; if they already feel smooth and comfortable, there’s no need to exfoliate again just because a few days have passed since your last session.
Storage and Shelf Life
Homemade lip scrubs don’t contain the preservatives found in commercial products, so they have a genuinely shorter shelf life and require a bit more care in storage.
- Room temperature storage: In a sealed, waterproof container, most oil-and-sugar scrubs last approximately 3 to 6 months at room temperature.
- Recipes with honey: These tend to have a shorter shelf life, generally best used within about 2 weeks, and benefit from refrigeration to extend freshness slightly.
- Always use a clean spoon or fingertip to scoop the scrub out, rather than introducing water or bacteria from repeated hand contact, which can shorten shelf life and introduce contamination.
- Label your container with the date made, especially if you’re batching multiple recipes at once, so you can track freshness accurately over time.
Brown Sugar vs. White Sugar
This is a genuinely meaningful choice, not just an aesthetic preference. Brown sugar is generally preferred for lip scrubs specifically because the natural molasses content makes its granules less rough and sharp-edged compared to white granulated sugar, resulting in a gentler exfoliation experience on delicate lip skin. White sugar still works perfectly well and is more universally available, but brown sugar is worth prioritizing if you have particularly sensitive or already-irritated lips.
Common Mistakes to Avoid
- Scrubbing too hard. The exfoliating action should come from the sugar granules themselves, not aggressive pressure from your fingers; over-scrubbing can cause irritation or micro-tears in delicate lip skin.
- Exfoliating cracked or bleeding lips. If your lips are already significantly damaged, skip exfoliation entirely until they’ve had a chance to heal, since scrubbing damaged skin can worsen irritation.
- Skipping the moisturizing follow-up step. Exfoliation removes dry surface cells, but without a lip balm afterward, the freshly exposed skin can actually feel more exposed and vulnerable to dryness rather than less.
- Using too coarse an exfoliant. Salt or overly large sugar granules can be too abrasive for lip skin specifically; sticking with fine granulated or brown sugar keeps the texture appropriately gentle.
- Exfoliating too frequently. More than the recommended one to two times weekly can tip into irritation territory rather than continued improvement.
- Storing scrub with a wet or dirty utensil. This introduces bacteria and moisture that shortens shelf life and can affect the scrub’s safety over repeated uses.
When to Skip Exfoliating Your Lips
- If your lips are cracked, bleeding, or severely chapped. Exfoliating damaged skin can worsen irritation rather than help; focus on intensive moisturizing and healing first.
- If you notice any signs of a cold sore developing. Physical exfoliation on or near an active or emerging cold sore can aggravate the area and potentially spread the virus to adjacent skin.
- If you have a known sensitivity to any specific ingredient, like cinnamon or citrus additions, patch-test a small amount on the inside of your wrist before applying to your lips.
- Immediately after a lip filler or cosmetic procedure. Always follow your practitioner’s specific aftercare guidance, which generally recommends avoiding exfoliation for a period following the procedure.
📌 YOU MIGHT ALSO LIKE:
The $2 ‘Epsom Salt’ Miracle: How to Create a Luxury Detox Bath at Home
FAQ
Is it really okay to just use sugar and oil, or do I need more ingredients?
A basic two-ingredient combination of sugar and oil is genuinely effective and complete on its own. Additional ingredients like honey, vanilla, or cinnamon are optional enhancements for scent, texture, or added moisture, not requirements for the scrub to work.
How long does homemade lip scrub actually last?
Stored in a sealed container at room temperature, most basic sugar-and-oil scrubs last approximately 3 to 6 months. Recipes containing honey have a shorter shelf life, generally best used within about 2 weeks.
Is brown sugar or white sugar better for lip scrubs?
Brown sugar is generally considered gentler due to its molasses content softening the sharpness of the granules, making it a better choice for sensitive or already-irritated lips, though white sugar works perfectly fine for most people.
How often should I actually use a lip scrub?
One to two times per week is the generally recommended frequency. More frequent exfoliation risks irritating the thin, delicate skin of the lips rather than providing additional benefit.
Can I use table salt instead of sugar?
It’s possible, but salt is considered a rougher, more abrasive exfoliant than sugar, and it’s generally not recommended for the thin, sensitive skin of the lips specifically. Sugar remains the gentler, more appropriate choice for this particular use.
Do I need to moisturize after exfoliating my lips?
Yes, this step matters. Applying a nourishing lip balm immediately after exfoliating helps lock in moisture on the freshly exposed skin, supporting the smooth, soft result exfoliation is meant to achieve rather than leaving lips more vulnerable to dryness afterward.
The Bottom Line
Soft, smooth lips don’t require a $20 specialty product when the two active ingredients — sugar and a moisturizing oil — are already sitting in your kitchen. A homemade sugar lip scrub, used once or twice a week and followed by a good lip balm, delivers essentially the same result as its expensive store-bought counterparts, for a couple of dollars and a couple of minutes of your time.
For more budget beauty guides and DIY skincare recipes, check out more posts over at The Frugal Glow.
Sources: